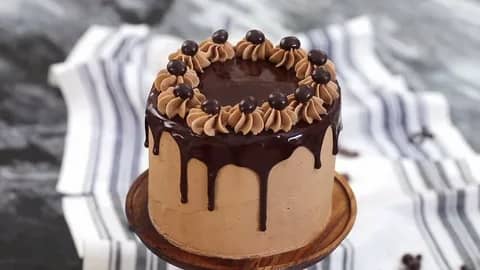
Icebox Cake: The No-Bake Dessert of Your Dreams!
New year Cake, new year cake 2025, cake makeing
Let’s face it, sometimes life feels like it’s in constant chaos – whether you’re running late to work, trying to find your car keys, or dealing with a massive pile of laundry. And then there’s the dreaded task of baking, which for some, can feel like an Olympic sport. But imagine a world where you can make a delicious, show-stopping dessert without turning on the oven. Sounds like a dream, doesn’t it? Well, that’s where the glorious Icebox Cake comes in!
An icebox cake is like a little secret from grandma’s kitchen that was passed down through generations. The beauty of this dessert lies in its simplicity, the fact that it doesn’t require baking, and the joy of devouring it in mere moments of assembling. Whether it’s a hot summer’s day or you’re just craving something sweet, this cake is the one thing that will always come to your rescue.
Now, let’s break it down. How does one go from feeling overwhelmed to whipping up an easy, mouth-watering icebox cake that could even make Gordon Ramsay crack a smile? Keep reading to find out!
What is an Icebox Cake?
Before we dive into the recipe (where the magic truly happens), let’s take a moment to appreciate the name “Icebox Cake.” It has a bit of an old-school charm, doesn’t it? Imagine walking into a 1950s kitchen and hearing someone say, “I’m just popping the icebox cake in the fridge!” It sounds like something that could solve all your problems – and, in a way, it does.
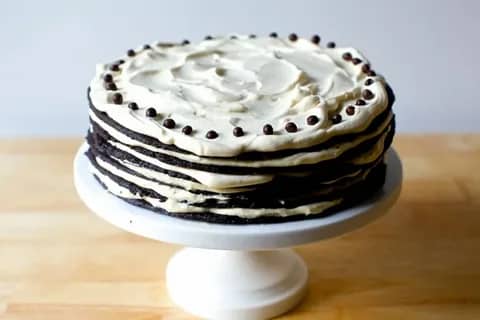
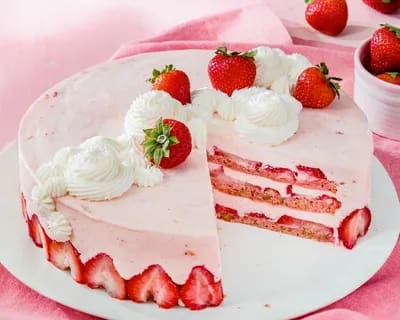
An Icebox Cake is a no-bake dessert made by layering cookies (usually biscuits) with whipped cream or custard and chilling the entire concoction in the fridge for several hours or overnight. The magic happens when the cookies soften and meld into a creamy, cake-like texture that will have your taste buds throwing a party. It’s simple, indulgent, and a guaranteed crowd-pleaser!
History of the Icebox Cake
The origin of the icebox cake is a bit mysterious. Some say it dates back to the 1920s when the first refrigerators, or “iceboxes,” made their debut. Before then, cakes had to be baked and eaten immediately (we know, how stressful!). The icebox cake gave people an opportunity to make a dessert ahead of time, which was a game-changer.
Others claim that the icebox cake is an American invention, linked to the popularity of the popular graham cracker-based desserts. Whatever its true origin, one thing is for sure: it’s here to stay, and we love it!
Why You’ll Love Icebox Cake

Here’s why icebox cake is the best thing since sliced bread:
- No baking required! – Forget about preheating the oven and keeping an eye on the timer. Just assemble and chill.
- Customisable – You can go wild with flavour combinations! Fruit, chocolate, caramel – the options are endless.
- Perfect for warm weather – An icebox cake keeps things cool when it’s hotter than a sauna outside.
- No skills needed – If you can layer biscuits and whip cream, you’re a pro.
- It’s so ridiculously good – Seriously, if you’ve never tasted an icebox cake, you’re missing out.
Sounds great, right? Well, hold onto your spatula because we’re about to get into the nitty-gritty of making this dessert magic happen!

The Ingredients (What You’ll Need)
You don’t need a PhD in culinary arts to make this cake. You just need a few humble ingredients, some patience, and a hungry belly at the end of it all. Here’s what you’ll need:
- Graham crackers – These little biscuits are the backbone of your icebox cake. You can use other cookies too, but graham crackers are the classic choice.
- Whipping cream – Light and fluffy whipped cream adds that creamy dreaminess to the dessert.
- Sugar – A bit of sugar never hurt anyone! You’ll need a little to sweeten the whipped cream. You could also use powdered sugar, if that’s what you’ve got in your pantry.
- Vanilla extract – To add a dash of flavour. If you want to get fancy, add a bit of almond extract too!
- Chocolate (optional) – Melted chocolate or chocolate chips, anyone? We can all agree that chocolate makes everything better. Trust us.
Optional (but encouraged!) toppings:
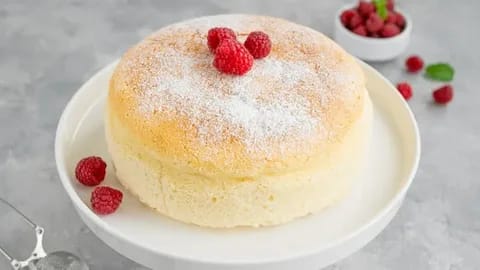
- Fresh berries (raspberries, strawberries, blueberries) – Because fruit is healthy, right? Okay, maybe not the entire cake, but it definitely adds a touch of elegance.
- Grated chocolate – For extra decadence, sprinkle some grated chocolate over the top of your icebox cake. Why? Because why not?
How to Make an Icebox Cake (Step-by-Step)
Now, let’s get into the exciting bit: how to make this tasty treat. Buckle up; it’s easier than you think.
Step 1: Prepare the Whipped Cream
In a large mixing bowl, pour about 2 cups of heavy whipping cream (yes, it’s a dream ingredient). Add 1/4 cup of sugar and 1 teaspoon of vanilla extract. Now, get out your electric mixer (or whisk if you feel like a workout!) and beat the mixture until it forms soft peaks. You want it creamy but not too stiff – a good middle ground is perfect. If you’re feeling particularly fancy, add a dash of almond extract here for a little twist!
Step 2: Assemble the Layers
Here’s where it gets fun! Grab your graham crackers (or cookies of your choice), and start layering them in a baking dish (9×13-inch should do the trick). You don’t need to bake the crackers, just layer them as they are.
Start with a layer of crackers at the bottom, then spread a generous amount of the whipped cream over them. Be sure to cover each cracker with the cream. Repeat this process, layering crackers and cream, until you run out of ingredients (or your patience – we get it, it’s hard to stop).
Step 3: Add Some Chocolate (Optional)
Once you’ve built your layers, this is the perfect time to add melted chocolate or sprinkle some chocolate chips on top. If you’re going for the melted chocolate, gently heat about 1/2 cup of chocolate chips in the microwave or on a stovetop. Drizzle the chocolate over the top layer for that extra wow factor.
Step 4: Chill and Let Magic Happen
This part requires some patience, which, let’s face it, is the hardest part of any recipe. Now that your masterpiece is assembled, place it in the fridge (or, as our grandparents called it, the “icebox”) for at least 4-6 hours. If you’re not in a rush, letting it chill overnight is the best way to go. The longer it sits, the better the flavours meld together.
Step 5: Serve and Enjoy
After your cake has chilled and softened into that luscious, creamy, graham-cracker goodness, it’s time to serve. Slice it up, add some berries or grated chocolate if you’re feeling extra, and get ready to hear “Mmmm” from everyone who takes a bite.
Variations and Fun Twists
Now, let’s say you’re a rebel and want to play around with this recipe a bit. Who can blame you? Here are a few ideas to make this dessert even more exciting:
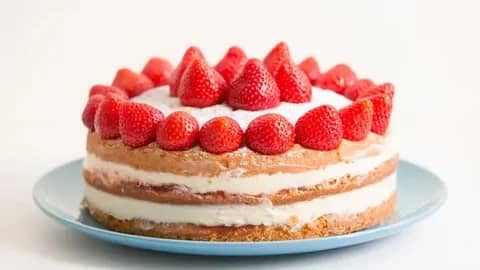
- Fruit-filled Icebox Cake: Want to make things fresh? Layer in some fresh sliced strawberries, blueberries, or even banana slices between the cream layers. The fruit will add a natural sweetness and a little burst of flavour.
- Chocolate lovers’ delight: Take things up a notch by adding a chocolate ganache layer in between your whipped cream layers. Simply melt 1 cup of dark chocolate with a bit of cream, then pour it over the whipped cream for an extra chocolatey bite.
- Peanut Butter Twist: Mix in some peanut butter with the whipped cream for a nutty surprise. You can even add some crushed peanuts on top!
- Coffee Icebox Cake: Add a bit of instant coffee powder or coffee liqueur to your whipped cream for a coffee-flavoured twist. It’s like an iced coffee in cake form!
- Coconut Delight: Toasted coconut flakes in the layers or on top of the cake will give it a tropical vibe.
Common Mistakes to Avoid
As simple as it may seem, there are still a few pitfalls you should watch out for when making your icebox cake. Don’t worry, we’ve got you covered:
- Not letting it chill long enough – This is the most common mistake people make. You’ve got to let it sit for hours, so don’t rush it! The cookies need time to soften and absorb the whipped cream.
- Using the wrong cookies – Not all biscuits are created equal! Some cookies are too hard to soften properly. Stick to graham crackers, or if you want something fancy, try vanilla wafer cookies.
- Over-beating the cream – Whipping cream can be temperamental. If you overbeat it, you’ll end up with butter, and that’s not what we’re aiming for here. Aim for soft peaks, not stiff ones.

Final Thoughts
There you have it, the ultimate no-bake dessert that’ll have everyone begging for more. Icebox cake is not only easy to make but is endlessly customizable, making it the perfect treat for any occasion – whether you’re celebrating a birthday, cooling off in summer, or just needing a quick indulgence after a long day.
So next time you’re craving something sweet, don’t stress about baking. Grab some graham crackers, whip up some cream, and let the icebox work its magic. It’s a dessert that proves sometimes the best things in life are the easiest!
Happy eating!